Custom home building is a complex process that requires careful planning and a thorough understanding of its various phases. If you're considering embarking on this exciting “dream home” journey, it's crucial to be well-informed about the process and its key milestones.
In this custom home checklist, we will provide you with a comprehensive overview of the main stages of building a custom home, helping you know what to expect and how to navigate through the complexities of your project.
Watch this video by Pete Baughman to understand the important points in this article:
1. Get Pre-Approved for a Construction Loan
Before you even think about the design and construction of your custom home, the first step is to determine how you will finance the project. It is essential to obtain preapproval for your financing before you start any planning.
Failing to do so could lead to costly setbacks. We have encountered numerous clients who began the design phase only to discover that they couldn't secure approval for the necessary funds to complete the new home construction project. To prevent this scenario, prioritize obtaining preapproval for your finances from the outset.
2. Buying Land
Selecting the right property for the custom home building process is a crucial decision that involves the right real estate partner and several land considerations:
Hazardous Materials
Have an inspector check for hazardous materials like lead, asbestos, or contaminated soil on the property, as these can impact the construction process.
Local Ordinances
Familiarize yourself with local building restrictions, such as building size limitations and height regulations. Different regions may have varying ordinances that can affect your new build.
Topography and Lot Specifications
Examine the topography of the lot, its size, and the type of soil. All of these factors can influence your construction process and budget.
There are three primary types of acquiring property within the greater Seattle area:
Find Vacant Land with Existing Utilities
While finding vacant land with utilities is less common in the Seattle area, some companies can develop properties by installing the required utilities but not building the structure. Ensure that you investigate any potential restrictions on the property, such as height and lot size limitations, and consider consulting a design-build general contractor to assist in this process.
Find Vacant Land without Utilities
Installing utilities on vacant land can be challenging and costly. Conduct a feasibility study with an experienced GC before purchasing the property to understand what's feasible (like, do you require a septic system or can you connect to the sewer) and budget accordingly. Avoid unforeseen expenses by partnering with a reputable design-build contractor who can offer cost-effective solutions.
Find a Property with an Existing Structure and Demolish
In Seattle, empty lots are scarce, so it's common to find properties with structures that are better off being demolished than purchased for renovation. While this option provides existing utilities and buildable land, be prepared for challenges like "critical areas," such as wetlands, setback requirements, or steep slopes, which require special permits and additional work.
To ensure you make the right property choice, consider finding the right design-build company first. The right design-build contractor can provide invaluable insights to help you avoid purchasing a property that won't meet your needs.

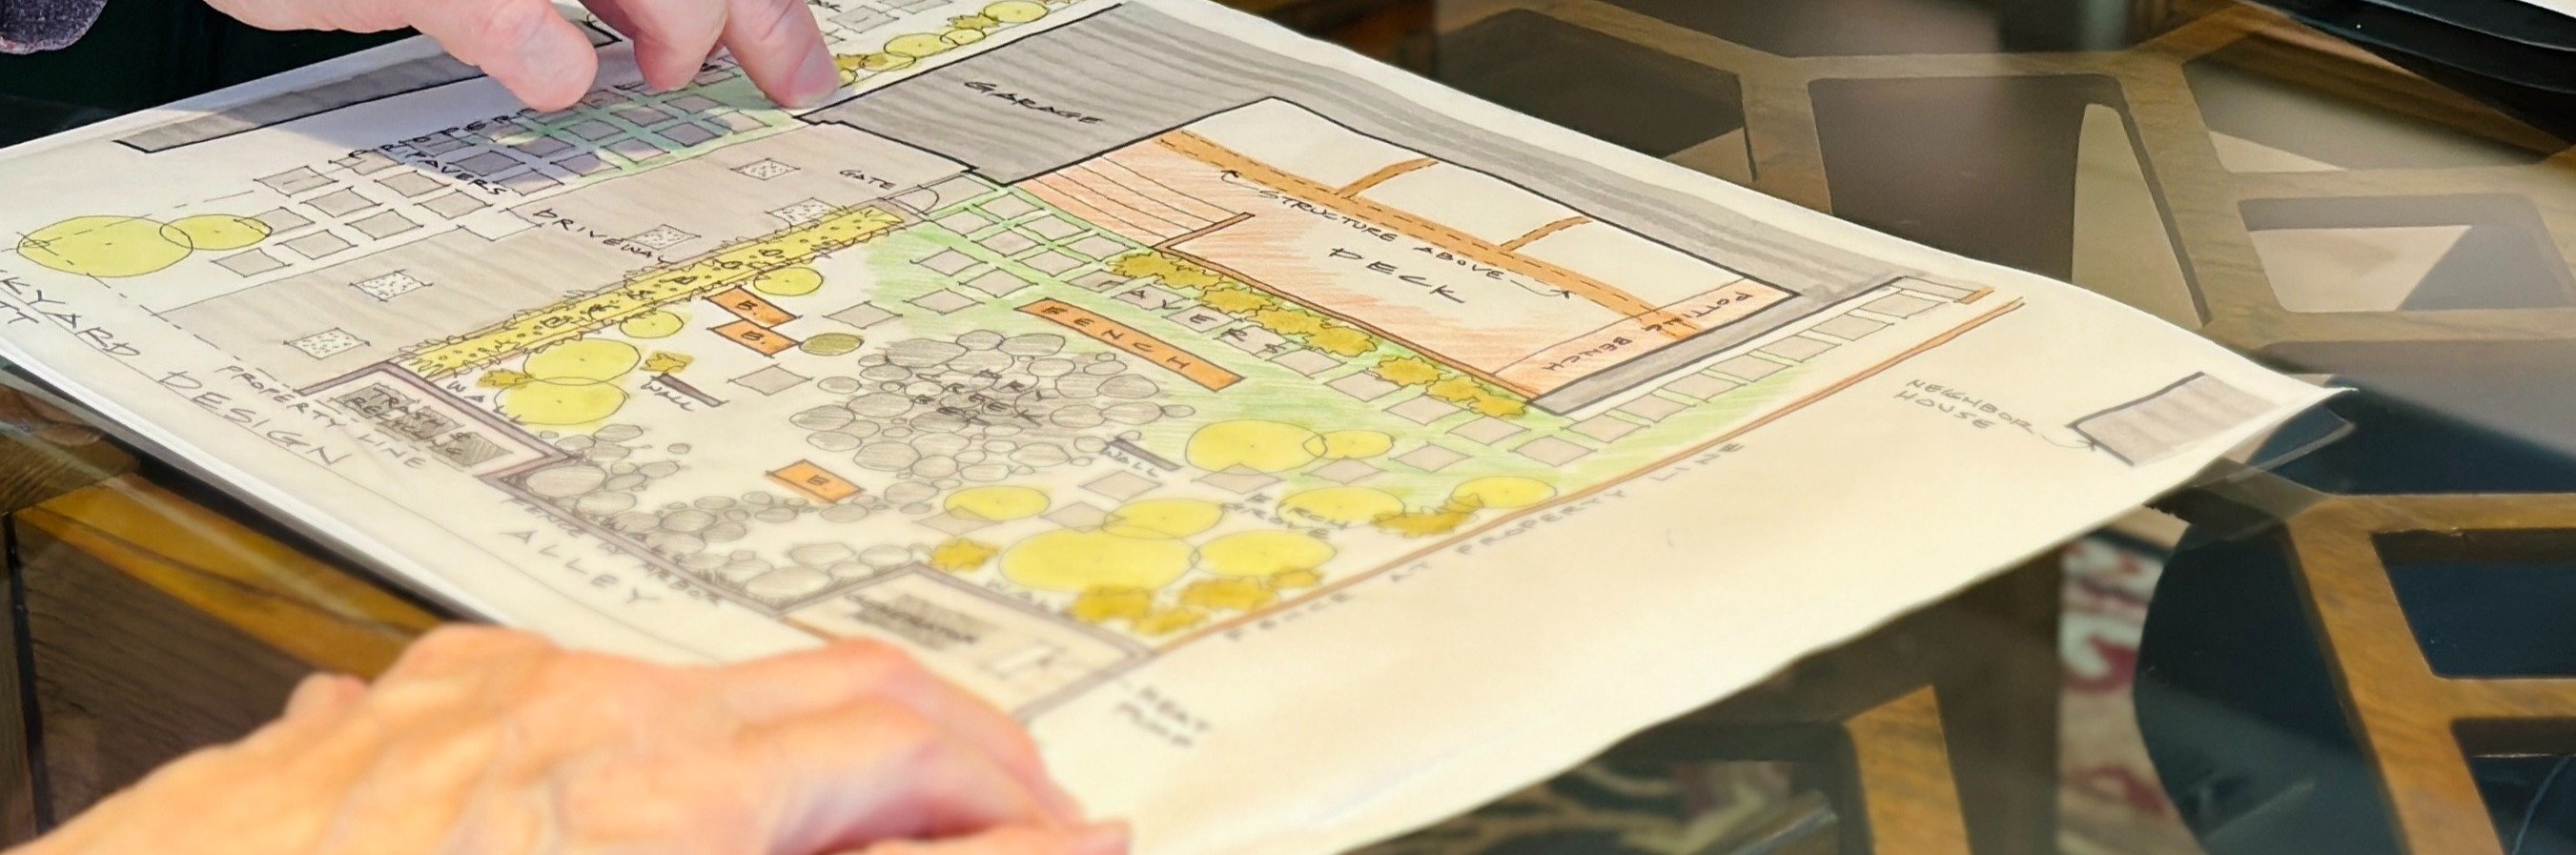
3. Design Your New Home
Collaborating with a design-build contractor is the next step in the custom home-building process. Together, you will develop a floor plan that aligns with your lot, accommodates your desires and needs, and stays within your budget. Before diving into the design phase, it's crucial to establish your budget and prioritize your requirements.
This step should address essential questions:
-
Is your family expanding or downsizing?
-
Do you anticipate aging parents moving in?
-
Are there specific outdoor amenities you want, such as a pool or pickleball court?
-
Do you need a one-story home for future mobility considerations?
Working with a design-build team will help you envision your custom home project holistically, ensuring you avoid common pitfalls associated with custom home construction.
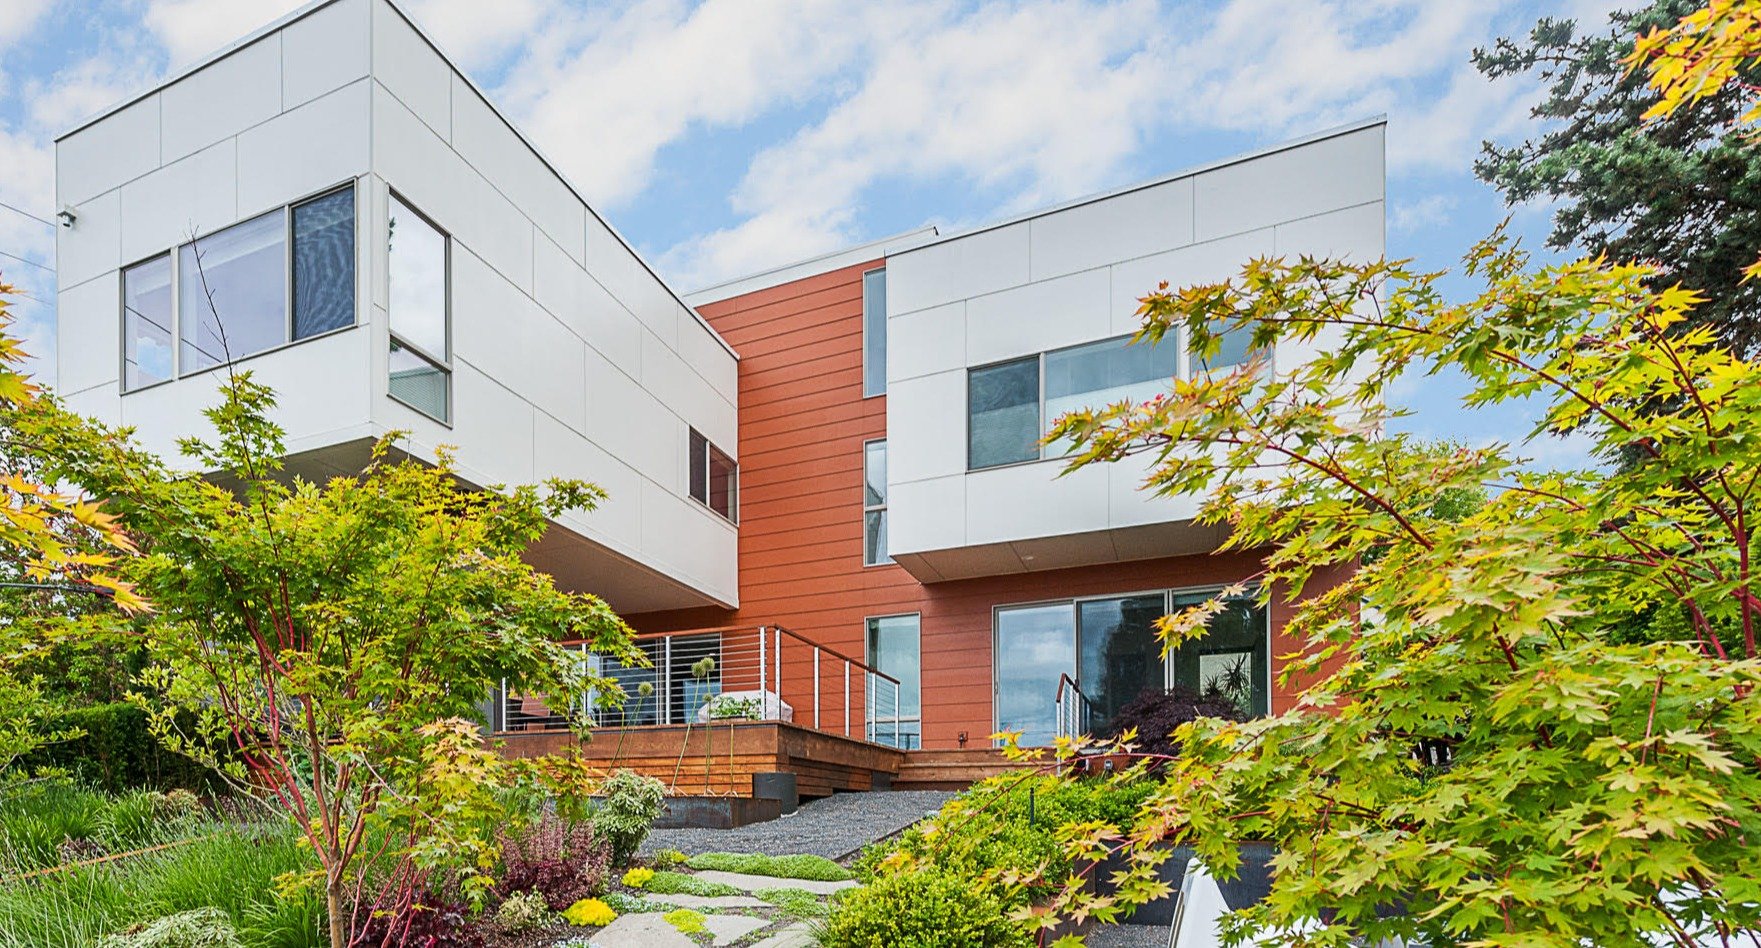
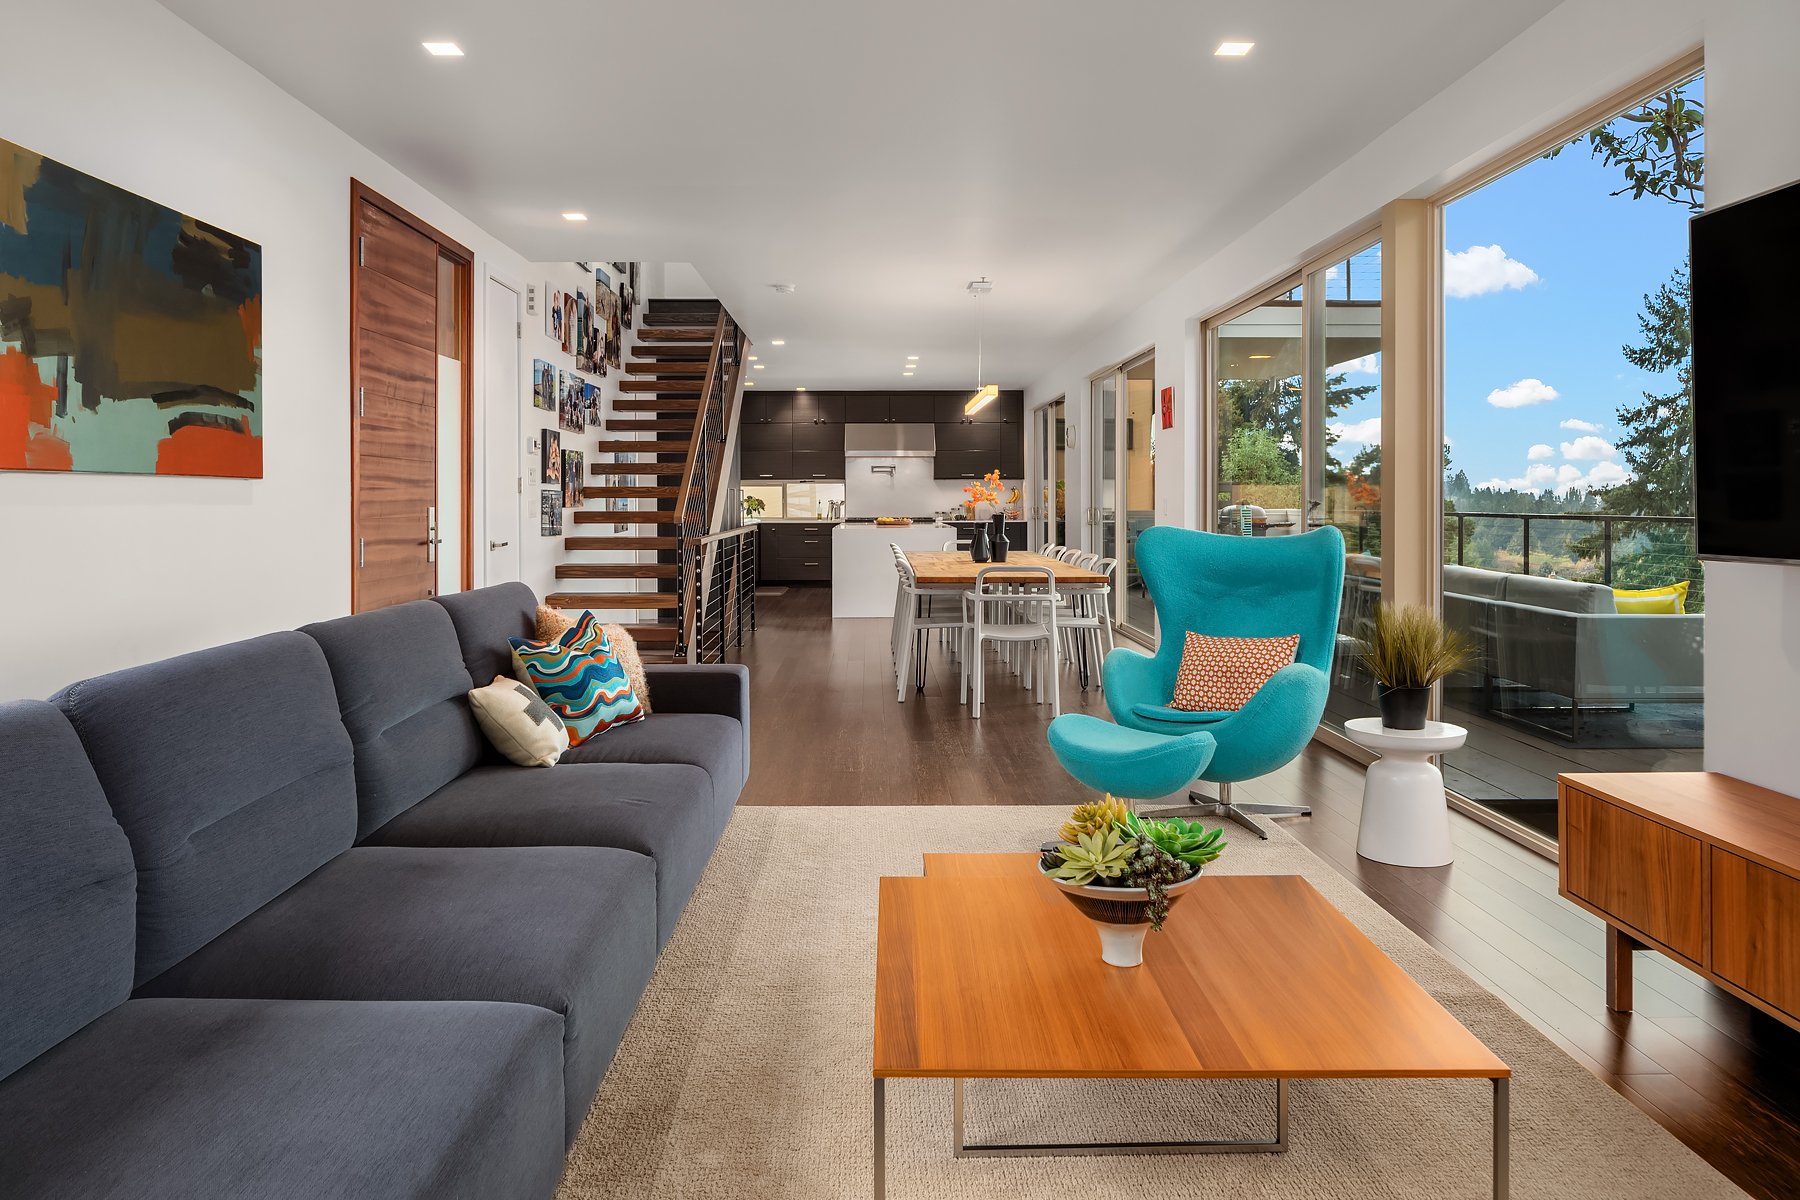
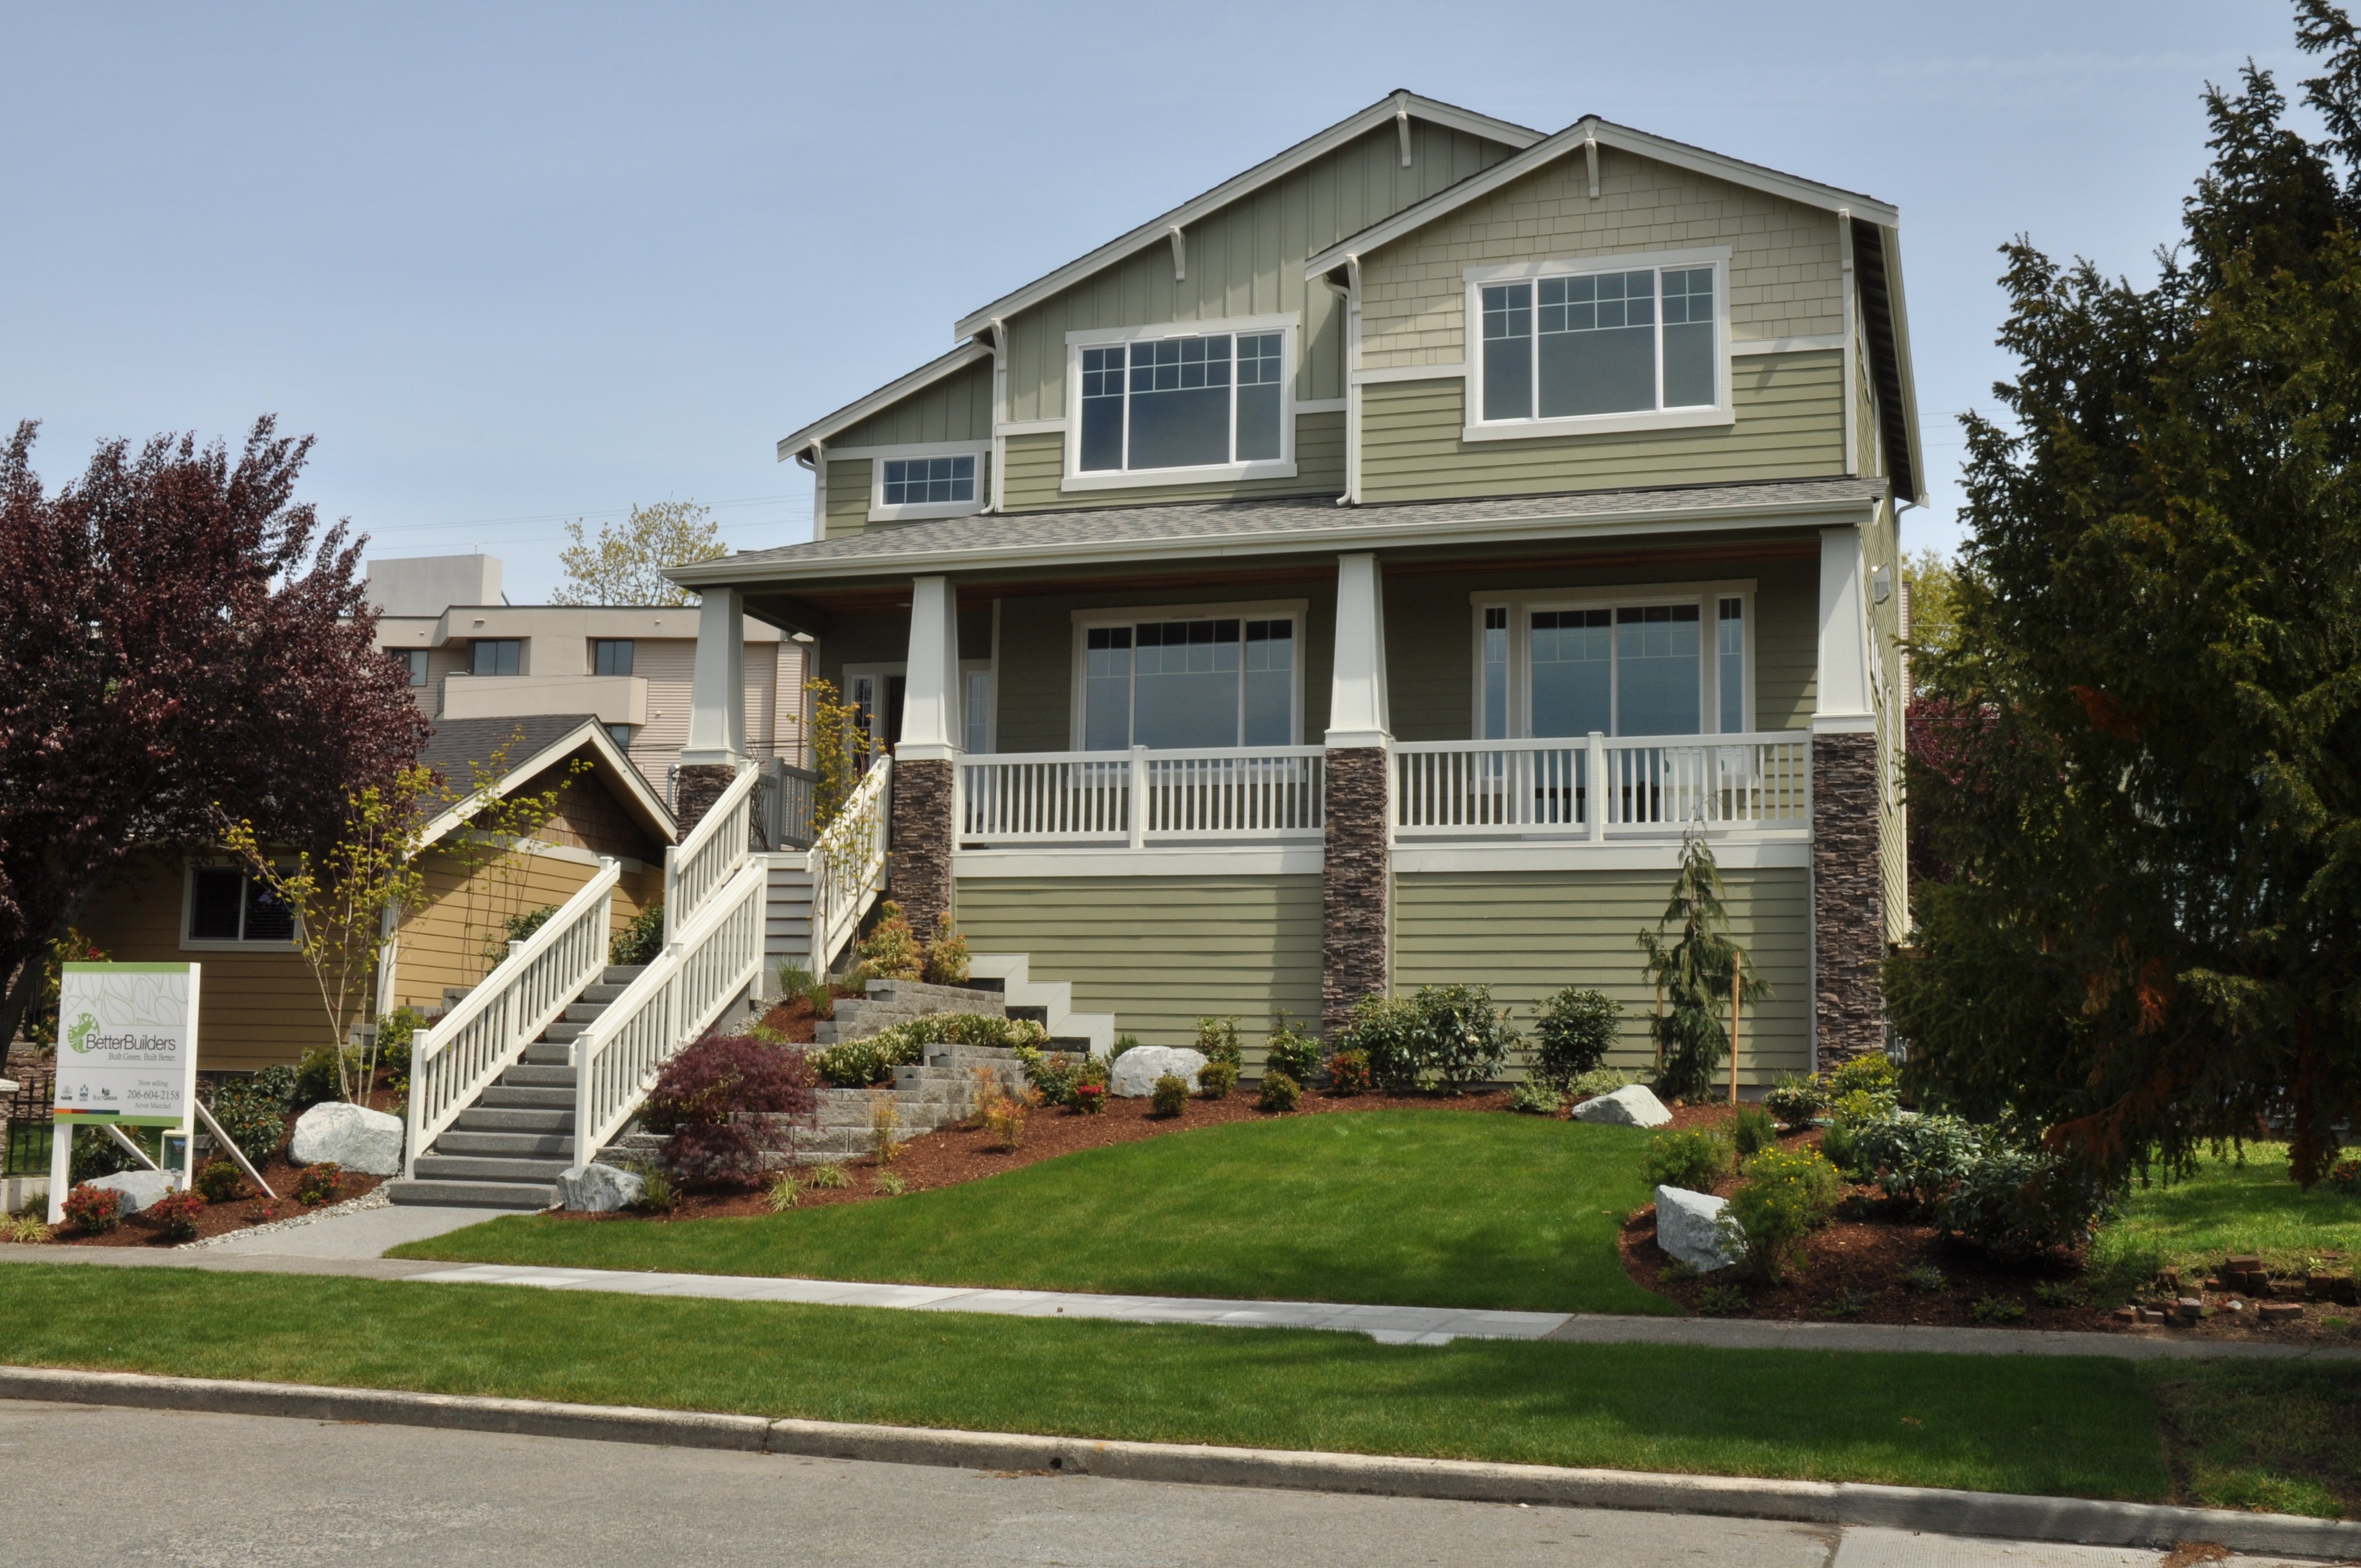
 Design for Better Builders Project, by Chuck Johnson Architect
4. Secure Financing
With your preapproval and design in place, it's time to secure your construction loan for the full project. Conduct thorough research on interest rates offered by different financial institutions, as rates can vary significantly. A seasoned design-build contractor may even have financial institutions to recommend from experience on past projects.
5. Acquire the Right Building Permits
Permitting is a critical yet often overlooked step in the custom home-building process. In the Seattle area, obtaining the necessary permits can take between 6 and 12 months, depending on the project's complexity and lot requirements.
Without the correct permits, your project will face unnecessary delays. It is essential to collaborate with a design-build general contractor who has extensive experience in managing the permitting process and addressing common issues that arise during this phase. For more insights on the Seattle permitting process, read our article “How to Get the Right Building Permits in The Seattle Area.”
6. Site Preparation
Site preparation involves clearing, grading, arranging utilities, and excavating for the foundation. Properly preparing the site is essential for a successful build.
7. Pouring the Foundation
The foundation is a critical element of your home. Properly poured foundations ensure your home is level, adheres to height restrictions, and provides effective drainage. Footing elevation is crucial for basement headroom and crawl space requirements.
8. Framing and Roofing
The framing phase involves constructing the “skeleton” of your home, including walls, windows, doors, and floor systems. Ensuring that the frame is square, plumb, and level is essential, as it forms the basis for all subsequent finishes. As soon as framing is complete and inspected, the house wrap and roofing go on to keep the space dry and protected during construction.

9. Rough-In Utilities (Plumbing, Electrical, HVAC)
During this phase, the contractor and their network of trusted subcontractors will locate and connect all necessary utilities to your new home. Precision in locating utilities is crucial to avoid costly rework. Mistakes in utility placement can lead to issues and costly rework during the finishing stages.
10. Insulation and Drywall
Insulation and drywall installation follow the framing phase. Common insulation materials consist of cellulose, fiberglass, and foam. You can now opt for green building supplies such as organic sheep wool if you’re looking for a more eco-friendly option.
Drywall serves as the primary wall finish, covering wires, plumbing, and insulation. Other options include paneling, tile, plaster, and more, but drywall gives you the most versatile and economical wall finishes available today. It’s the least expensive per square foot, is easily repaired, takes paint well, and gives you design flexibility.
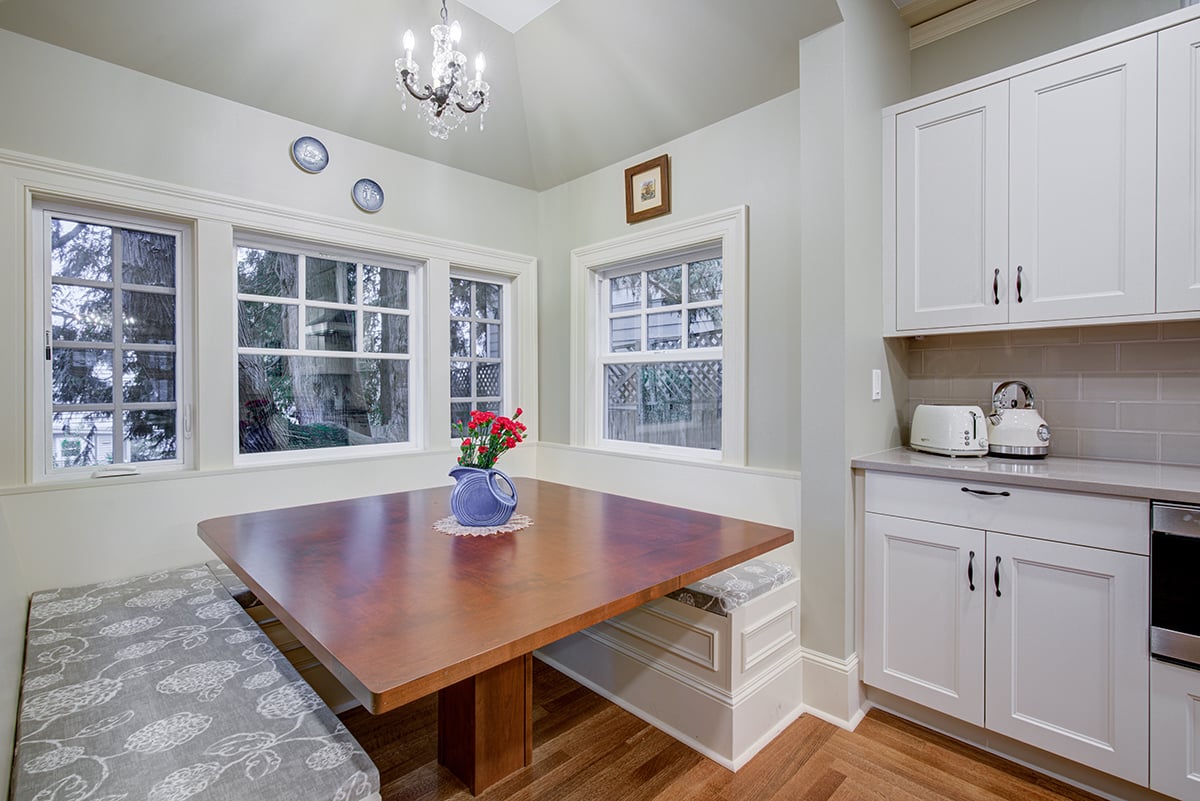
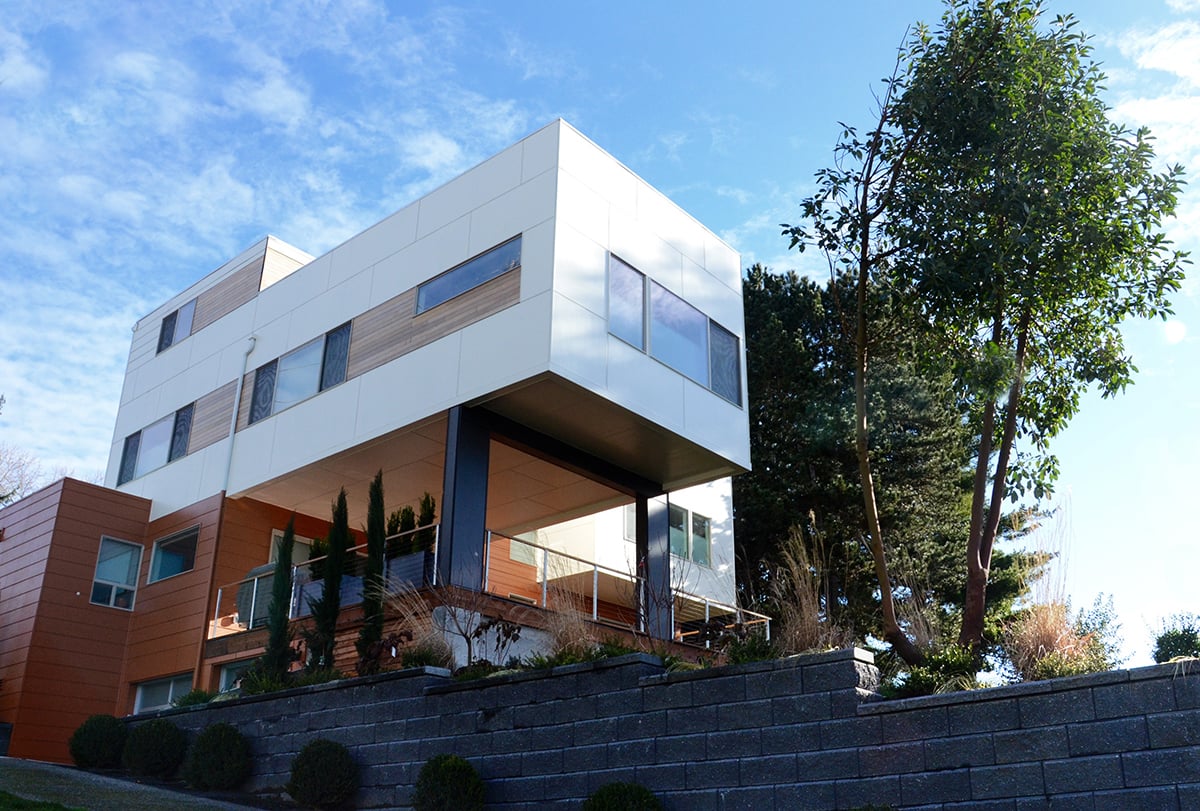
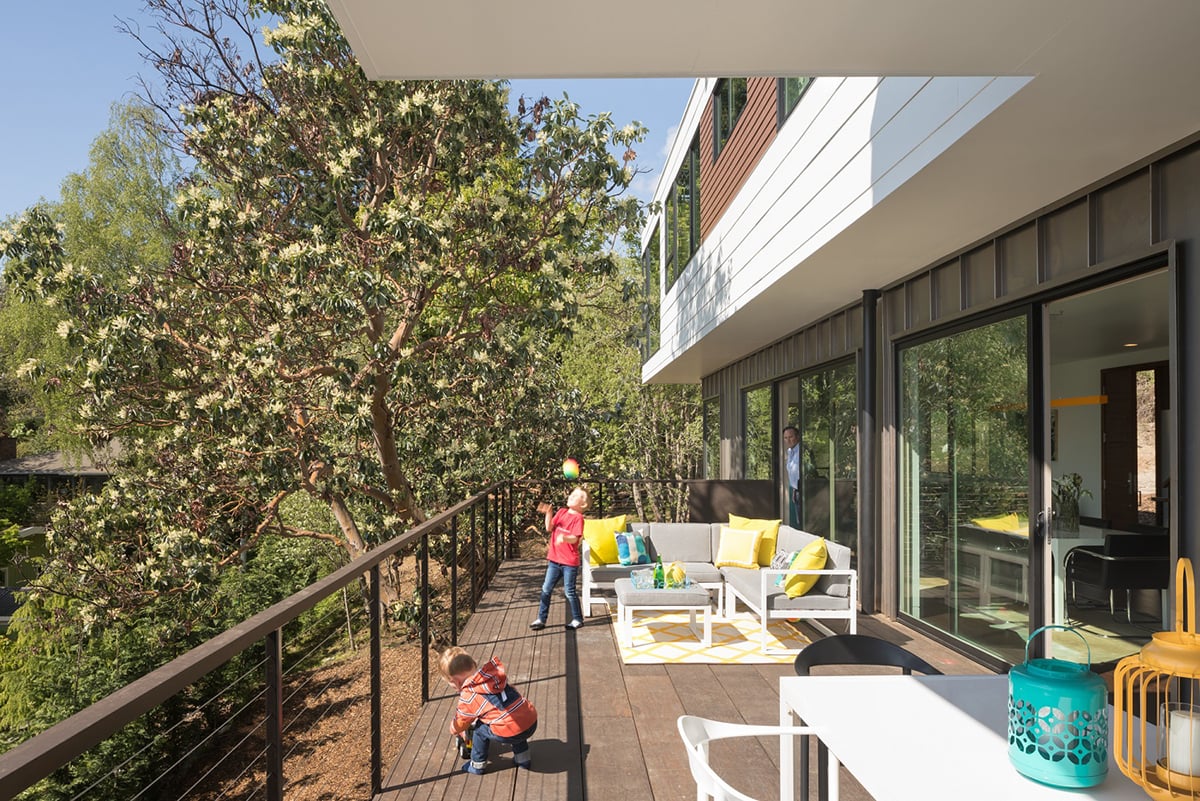
11. Interior and Exterior Finishes
The interior and exterior finishes mark the beginning of the aesthetically pleasing phase of your construction checklist. Interior finishes include fireplaces and surrounds, window sills, doors, baseboards and trim, built-ins, countertops, shelving, cabinetry, and paint, while exterior finishes encompass driveways, walkways, drainage, patios, and decks.
This is where budgets can become a concern, making it crucial to work with a trusted design-build partner who can help you make the right selections while staying within your budget.

12. Floors and Fixtures
This phase involves installing fixtures such as light switches, faucets, sink and bath plumbing fixtures, hardware, and decorative lighting. It may also include selecting and installing various flooring materials like tile, hardwood, and carpet.
13. Inspection and Final Walkthrough
The final inspection, conducted by a building code official, ensures your home complies with mechanical and structural codes, granting you a certificate of occupancy - meaning it’s time to move in! This step provides an additional layer of professional oversight to ensure your home is built correctly and to code.
The Importance of Partnering with the Right Custom Home Builder
Building a custom home is a complex process, distinct from traditional home purchasing with a realtor. To succeed in this venture, establishing a strong partnership with a trusted Design-Build contractor is crucial. Not everyone is suited for the challenges of custom home building, but with the right information and a knowledgeable design-build general contractor by your side, you can navigate the process with confidence. Trusting your design-build general contractor will provide you with the assurance you need to have a positive and successful custom home-building experience. Remember, preparation and education are key, and with the right team, your dream home can become a reality.
To learn more about the custom home building journey, download our eBook, “How to Find the Perfect Custom Home Builder: A Guide to Creating Your Dream Home.”


.png)
.jpeg)