You winterized your home and resealed the windows and doors, yet your energy bills continued to climb, and some rooms still felt uncomfortably cold and drafty. What happened? Poor insulation could be the culprit.
This article will help you determine if your insulation isn’t doing its job, whether due to improper installation or declining material performance. Recognizing signs of failing insulation early on will help you avoid bigger issues down the road and make your home noticeably more comfortable in the process.
How Do You Know Your Home Is Poorly Insulated?
There are several signs to watch out for that can indicate that your home is poorly insulated.
-
High energy bills: One of the first obvious signs of inadequate insulation for many homeowners is an unexpected increase in their energy bill, often due to HVAC systems running excessively to heat or cool their home.
-
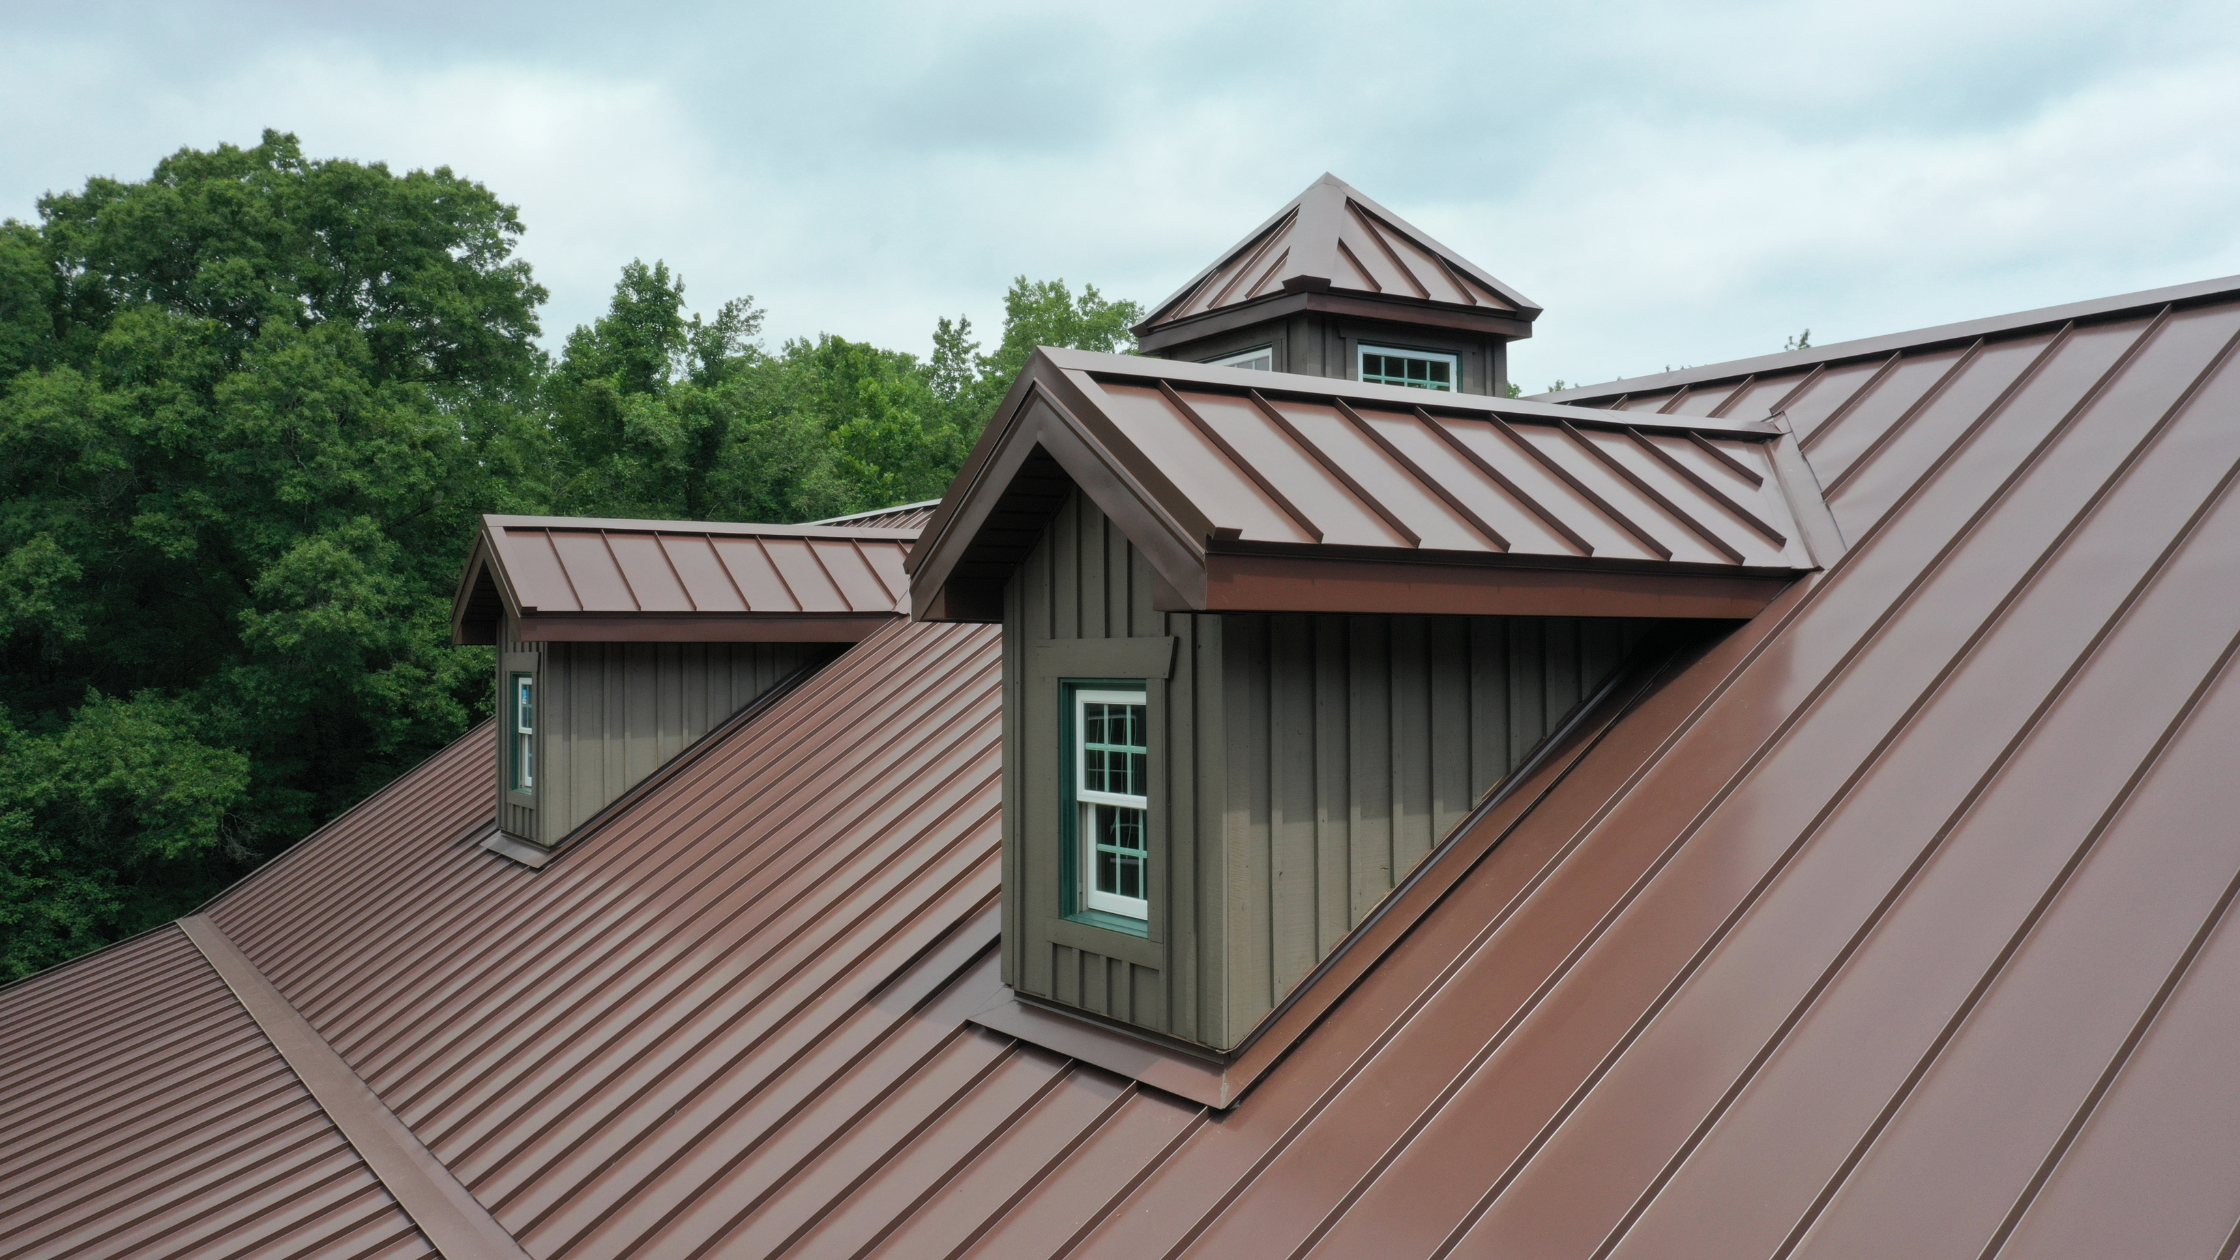
Lack of snow or frost on your roof: If neighboring homes have a layer of snow or frost on their roofs, but yours is bare, it may mean that heat is escaping through your roof and melting any frozen precipitation.
-
Cold drafts: Feeling drafts inside your home, especially near windows, doors, or floors, is a clear indicator of insufficient insulation.
-
Cold surfaces: Exterior walls, floors, and ceilings that feel cold to the touch suggest heat loss due to poorly insulated areas.
-
Visible lack of insulation: If you check your attic or crawl space and find little to no insulation, it’s a clear red flag that your home is losing energy, and quickly.
-
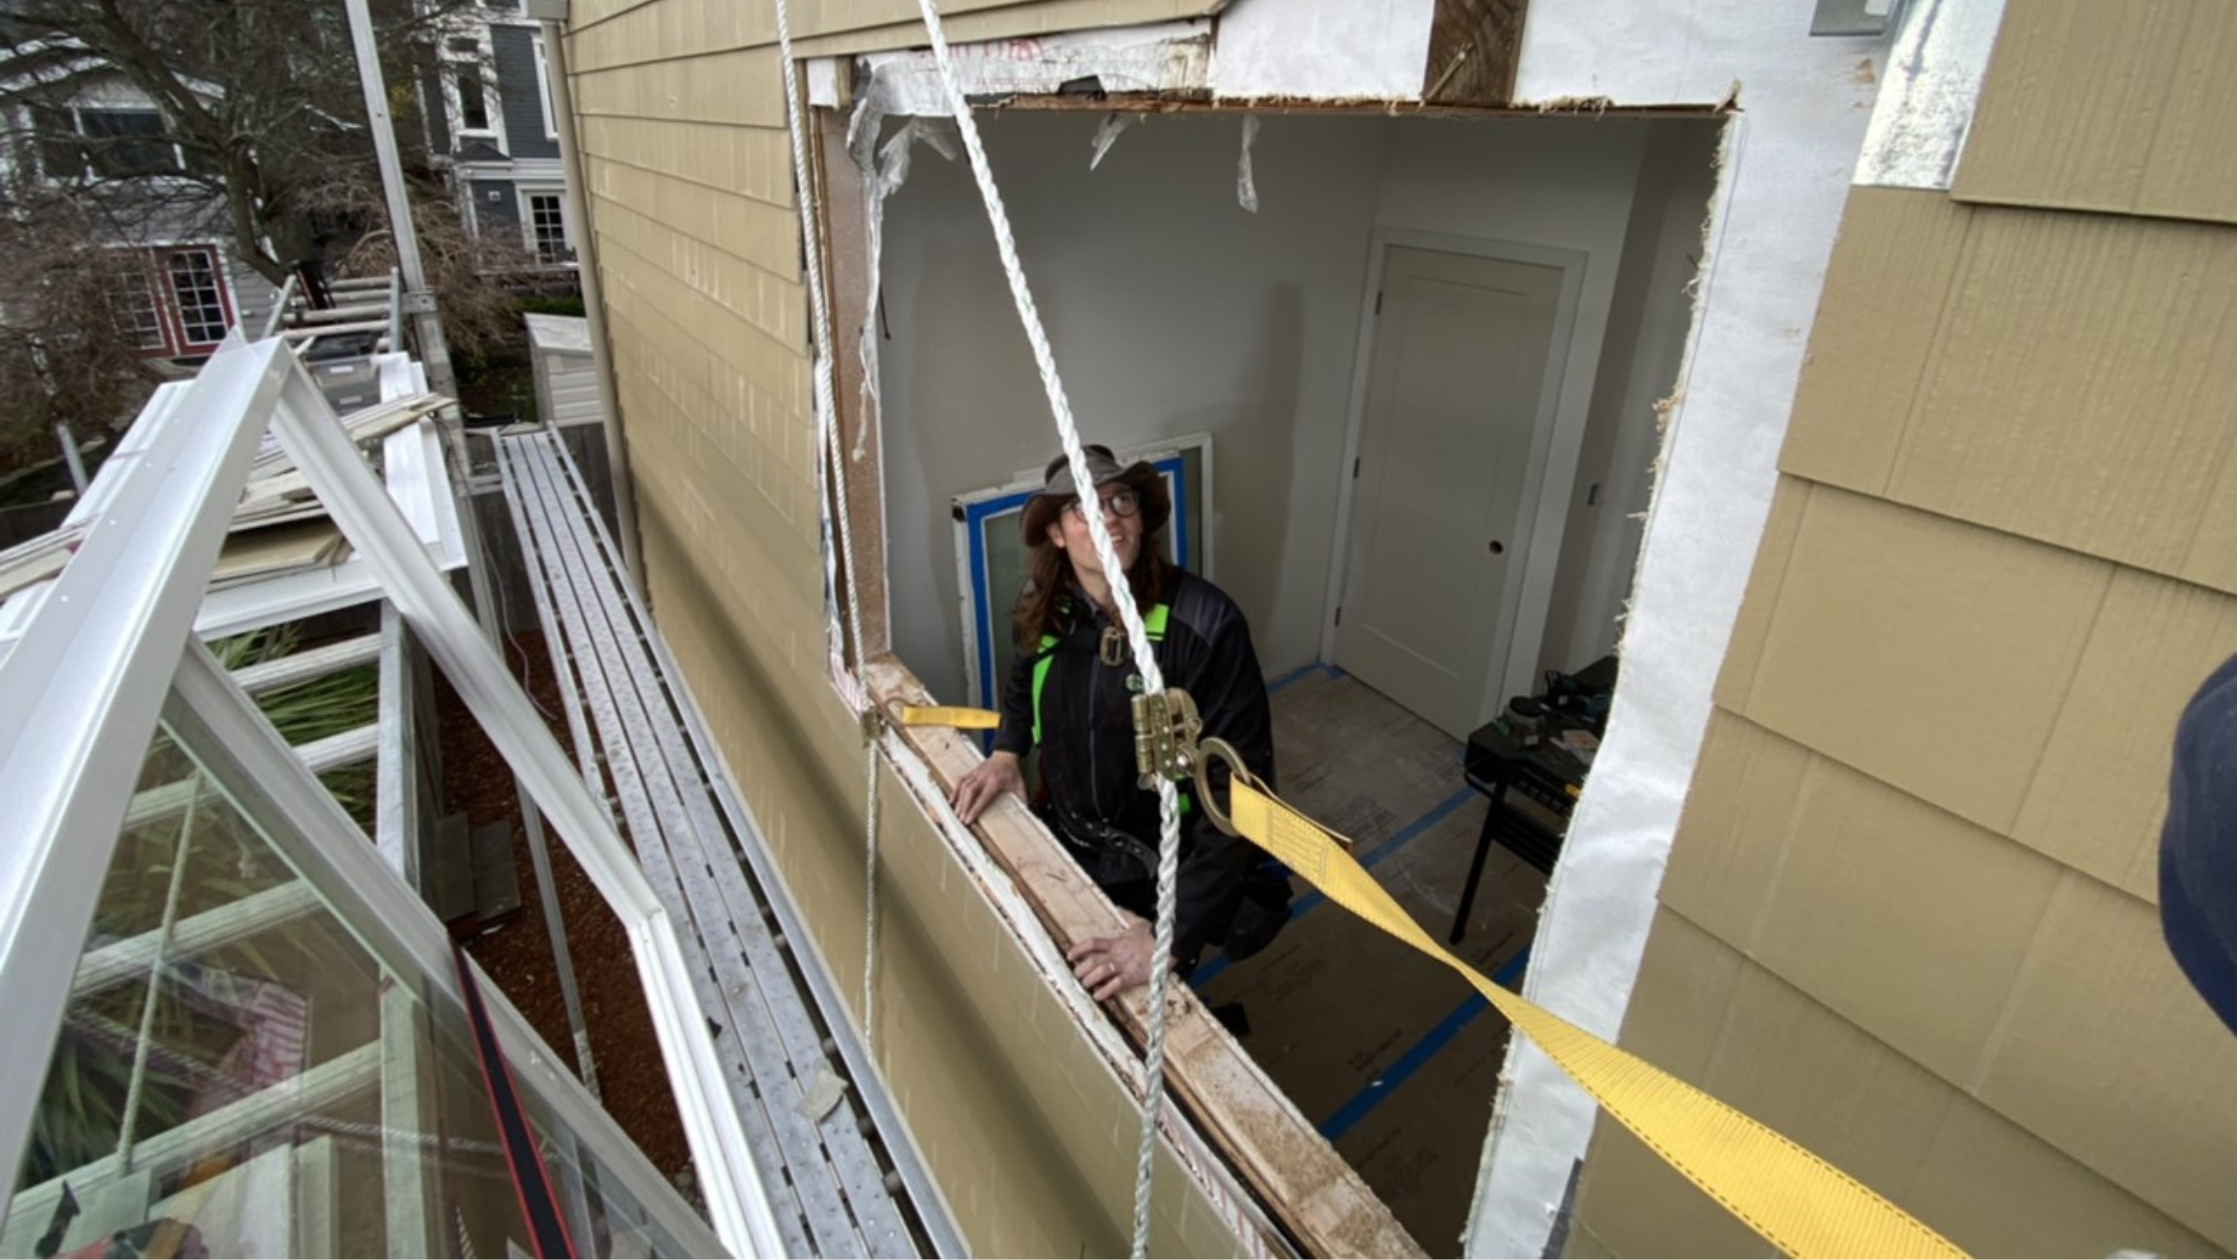
Frozen Pipes: One clear sign that your home may be under-insulated is frozen pipes during cold weather. In one recent case, a homeowner discovered this the hard way—pipes running through an uninsulated soffit froze when temperatures dipped below 20 degrees, cutting off water access to their powder room. The issue stemmed from a previous remodeling job where insulation was overlooked in that section of the home.
-
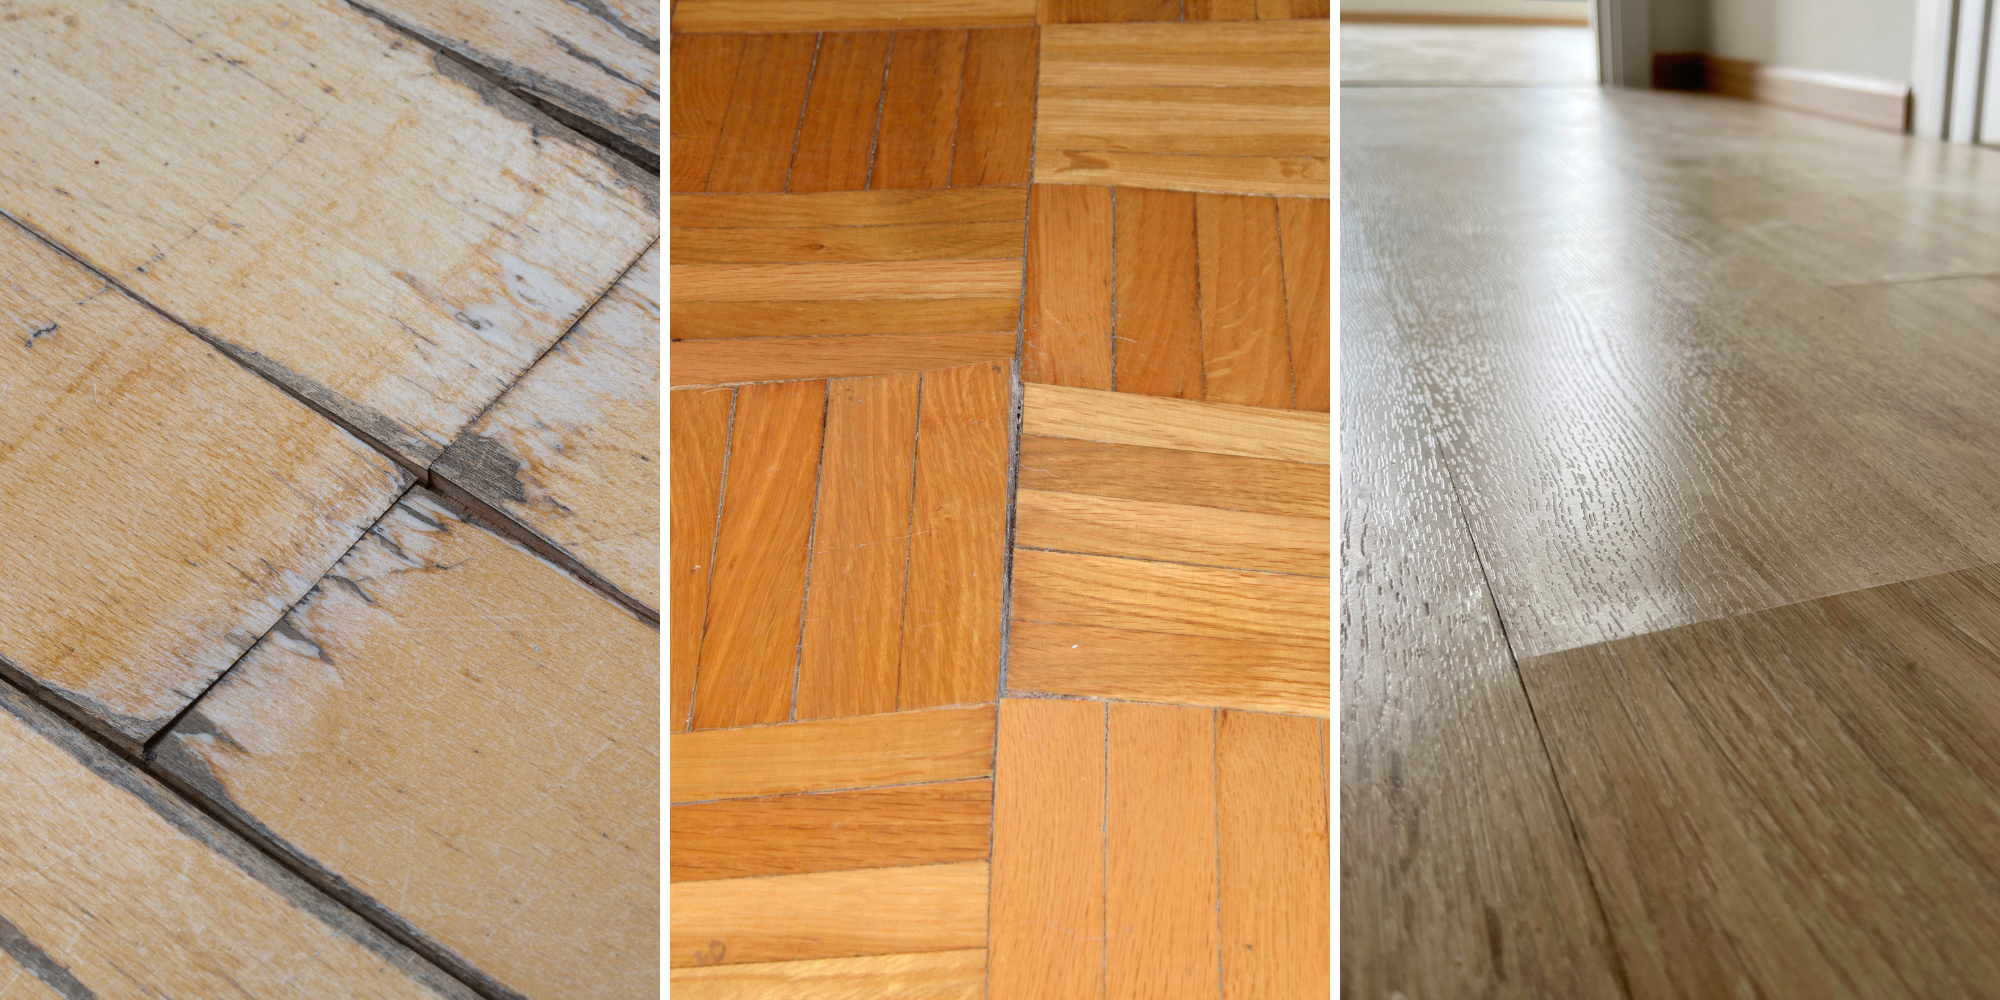
Age of the home or Poor Installation: Inadequate insulation is a common issue, particularly in older homes or those that have undergone rushed renovations. Many homes built before the 1970s were constructed with little or no insulation or filled with outdated materials like straw, newspaper, or even mud. These homes often fall short of modern energy standards and require a thorough evaluation beyond just the walls and attic. Hidden areas, such as soffits, crawl spaces, and exterior-facing plumbing runs, are especially important to inspect, as poor insulation in these spots can lead to serious issues, including frozen pipes, winter damage, and costly repairs.
Read Detecting Roof Failure: How to Know When to Repair vs. Replace It and get expert insights to help you spot the warning signs, avoid costly surprises, and make a confident, informed decision for your home.

Types of Insulation
Each type of insulation is rated on a scale of R-value. R-value measures how well an insulation material resists heat transfer. The higher the R-value, the better an insulation will perform, and ratings are determined based on the type, thickness, and density of the measured material.
There are five main types of insulation used in modern homes, and four of these are what we use about 99% of the time.
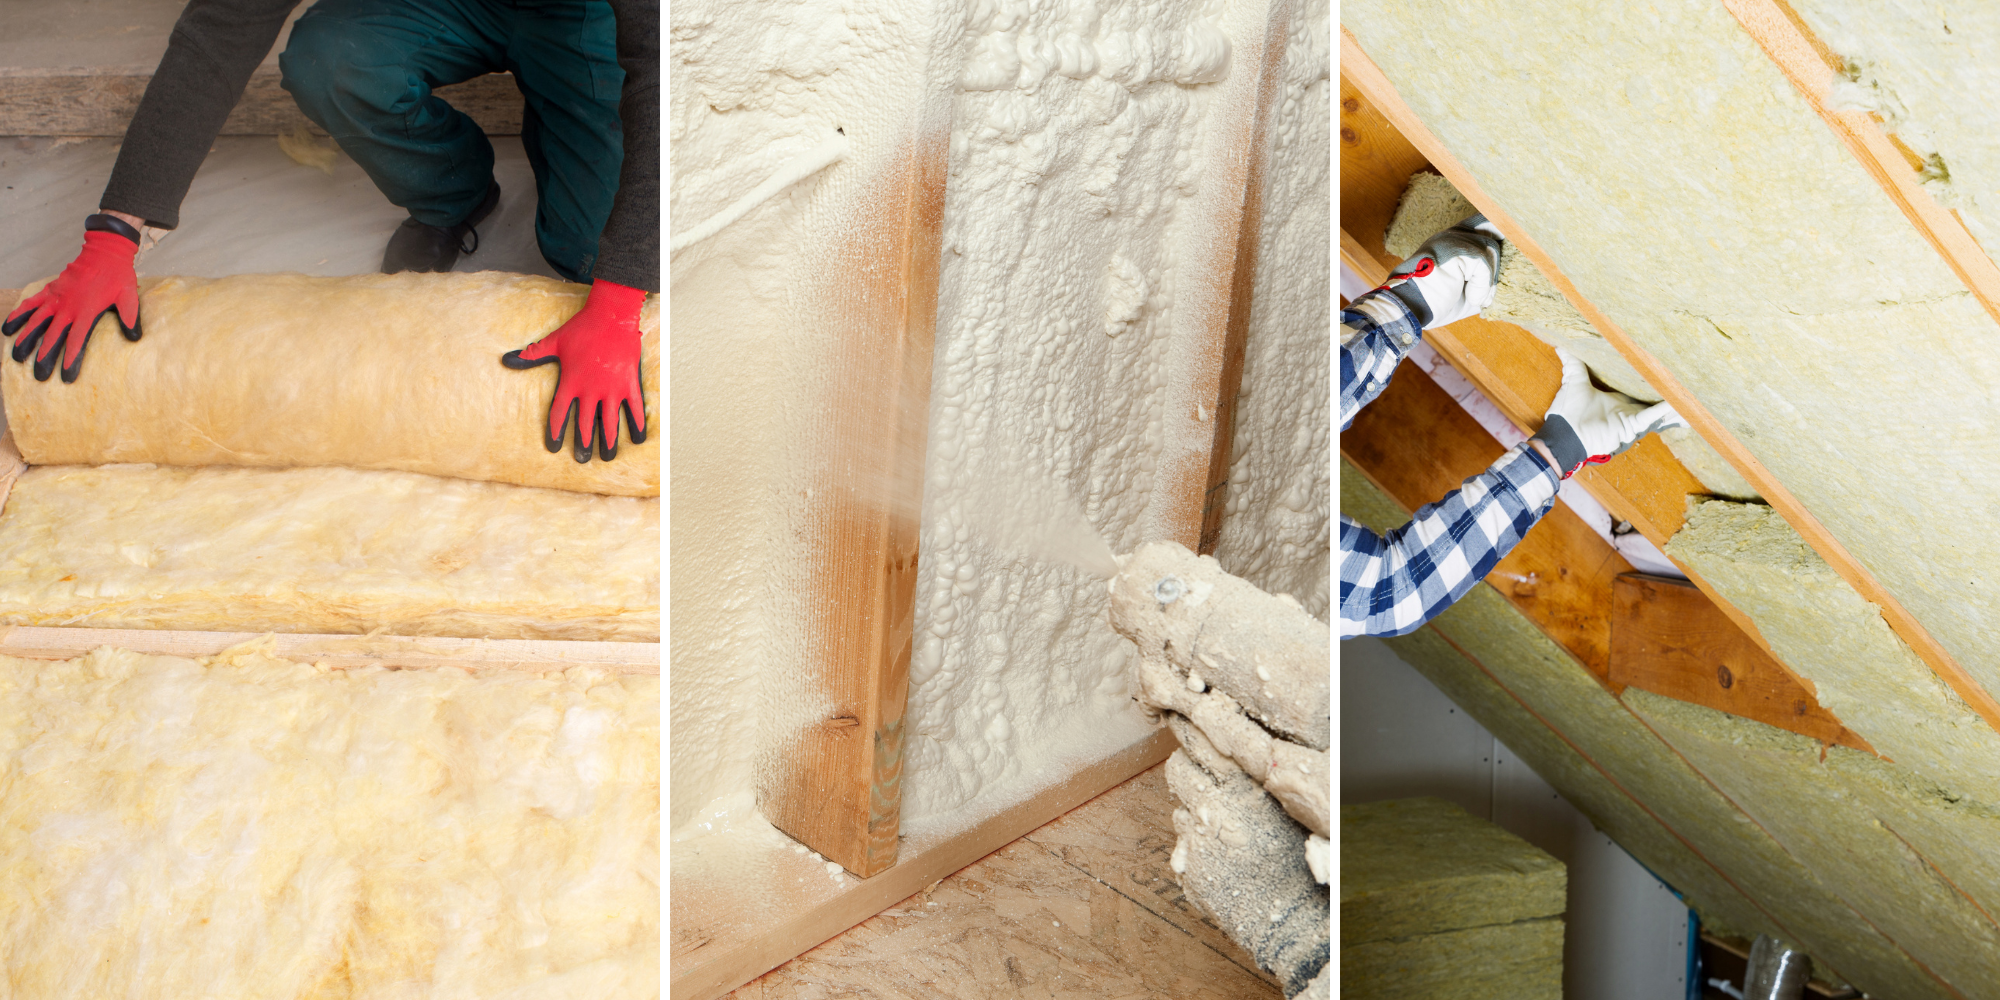
1. Fiberglass
Fiberglass is the most common type of insulation used, and is probably what comes to mind when you think of home insulation. Fiberglass insulation generally comes in 3 forms:
- Batts that can be cut to the lengths and widths needed
- Rolls that can be cut to width but not length
- Little pieces of fiberglass that are blown in using a mechanical device
Pros of Fiberglass Batts & Rolls
Using fiberglass batts and rolls as insulation is one of the most affordable insulation options. It’s a material that is easy to source and can be found at most hardware and building supply stores.
Installing these types of insulation is straightforward and relatively easy. Batt insulation and rolls are pre-cut to the width you need, and batts can also be cut to length. Both batts and rolls are easy to cut to size with common tools, such as scissors and knives.
Fiberglass batts and rolls offer a solid R-value (~3.5 per inch) for their price point. Not only does this material have proven thermal performance, but the paper-backed fiberglass batts and rolls also help maintain a stable home environment by blocking interior moisture from penetrating walls.
Cons of Fiberglass Batts & Rolls
Fiberglass batts and rolls are made of tiny glass fibers that can irritate skin, eyes, and lungs, and are not fun to install. Proper protective gear is essential, and can be uncomfortable if installation is taking place in an attic on a hot day. Installation is especially challenging in irregularly shaped spaces and around obstructions such as pipes and wiring.
Poor fit, or gaps between batts, can create air leaks, reducing overall energy efficiency. But, on the other hand, the material’s R-value can be compromised if the fiberglass is compressed. If you walk on this material or store boxes on top of it, its effectiveness will diminish significantly.
There are also moisture concerns with this material. If it gets wet, fiberglass batts and rolls lose insulating power and can become an optimal place for mold growth. Walls and attics insulated with fiberglass batts or rolls must have adequate airflow to prevent condensation and moisture buildup.
Important to note: Fiberglass and mineral wool (discussed below) insulation require proper ventilation to manage moisture. When it’s extremely cold outside and warm inside, a temperature gradient forms within your wall, somewhere between the inside and outside, the wall temperature can drop to the freezing point. If any moisture is trapped in the insulation at that temperature point, it will freeze and form ice. As outdoor temperatures rise, the ice will thaw, creating liquid water inside the wall. This becomes a very serious problem. Without proper ventilation to help dry out the insulation, this trapped moisture can lead to mold, mildew, and eventually wood rot.
Pros of Blown-In Fiberglass
Blown-in fiberglass is a great, moisture-resistant material, perfect for attic insulation and hard-to-reach cavities where batts and rolls aren’t a practical option. When professionally installed, it can be installed quickly and efficiently.
This material is a good option for retrofitting and can be used in existing walls or attics with minimal demolition.
Cons of Blown-In Fiberglass
Blown-in fiberglass typically requires professional equipment to install. While it’s possible to rent the blower machine used in installation to DIY, the job is messy and labor-intensive.
This type of insulation can easily settle and become compacted, especially when installed in wall cavities. Without the volume established at the time of installation, the insulation’s performance is reduced. The material also doesn’t block air movement well on its own, and works best when paired with proper air sealing (where all gaps and cracks are sealed to prevent unwanted airflow).
After installation is complete, blown-in fiberglass is more difficult to inspect, as it’s hard to tell if a wall cavity is fully filled or if the material is evenly distributed without specialized tools.
 Above: Example of blown-in fiberglass insulation.
2. Mineral Wool
Mineral wool is a man-made insulation material made from natural minerals like basalt or its close relative, diabase.
Pros of Mineral Wool
Mineral wool is multi-functional: it’s non-combustible, can be used for fire stopping, as insulation around pipes, and for sound-proofing, as well as for general insulation. Unlike blown-in materials, mineral wool retains its volume over time, enabling it to maintain its R-value in the long term.
Its aforementioned R-value is good, ranging from R-3.7 to R-4.3 per inch, and provides solid thermal performance.
Mineral wool comes in batts that can be easily trimmed with a serrated knife to fit around obstructions, making installation fairly easy.
Cons of Mineral Wool
Mineral wool is more expensive than fiberglass, typically costing 25-50% more, depending on the product and application. It’s also not as widely available as other materials, and is not stocked in all big-box stores.
Mineral wool is heavy and dense, making it cumbersome to handle and install, especially in overhead or tight spaces. And, like fiberglass, this material needs airflow, whether installed in wall or attic assemblies. Ventilating the space prevents moisture buildup that can lead to condensation-related issues.
 Above: Example of mineral wool insulation.
3. Polystyrene Foam Insulation Board
This type of insulation board doesn’t require ventilation and doesn’t absorb moisture, making it suitable for use in unventilated areas and under concrete slabs.
Pros of Polystyrene Foam Insulation Board
Polystyrene foam insulation board performs well, with an R-value ranging from R-5 to R-7.6 per inch, depending on the type used. Unlike fiberglass or mineral wool, polystyrene foam insulation board doesn’t absorb moisture.
Because it doesn’t absorb moisture, it’s ideal for below-grade applications, with its closed-cell structure making it ideal for use under concrete slabs or in areas with potential water exposure. Furthermore, this material is easy to cut with basic tools and can be installed in large panels, making for easy installation.
Cons of Polystyrene Foam Insulation Board
This type of insulation is more expensive than fiberglass and cellulose per square foot, which can make it cost-prohibitive.
Polystyrene foam insulation board is made from petroleum-based materials. It must be covered with a fire-rated material (like drywall) when used indoors, as it can emit toxic fumes if it burns.
The R-value of the material decreases with age and will lose approximately 1.25 R-value over the course of 5 years. A new rigid foam board will register at R-7 per inch, but will read at R-5.6 after several years. The performance of this product will depend on the age of the material. Extended exposure to sunlight expedites this material failure, as it degrades with UV exposure.
 Above: Example of foam insulation board.
4. Spray Foam
Spray foam insulation is used for sealing off around pipes, penetrating through walls, and for areas where there isn’t adequate ventilation for fiberglass or mineral wool insulation.
There are two primary types of spray foam used for insulation: open-cell and closed-cell.
- Open-cell spray foam insulation is softer, with higher sound attenuation, making it a good option for soundproofing.
- Closed-cell: This type is rigid, waterproof, and has a higher R-value (around 6 per inch). Because of moisture absorption, closed-cell foam can be used for below-grade applications (but open-cell foam cannot).
Pros of Open Cell Spray Foam Insulation
Open-cell spray foam insulation is generally the more affordable form of spray foam and is great for irregular spaces. It easily fills hard-to-reach spaces, including around pipes and wiring.
Unlike many other types of insulation, open-cell spray foam doesn’t need ventilation, and it doesn’t need a separate barrier because the insulation creates a high-quality air seal on its own. It fills all cracks and gaps, blocking air leaks and helping prevent air pollutants from entering. Because it forms such a tight seal with its softer structure, this type of spray foam is ideal for soundproofing.
Cons of Open Cell Spray Foam Insulation
This type of insulation requires specialty equipment to install, making it necessary to hire experienced professionals. And even with perfect installation, open-cell foam can absorb water like a sponge, so it’s not suitable for below-grade spaces like basements or crawl spaces.
Open-cell foam has a lower R-value, typically around R-3.5 to R-4 per inch, so it requires a thicker application to match the thermal performance of closed-cell foam.
Pros of Closed-Cell Spray Foam Insulation
Closed-cell foam has a high R-value of R-6 to R-7 per inch, making it one of the most thermally efficient insulation materials available. Not only is it efficient, but this type of spray foam adds rigidity and strength to walls and roofs when used within wall and attic assemblies, acts as a vapor barrier, and is moisture-resistant.
Cons of Closed-Cell Spray Foam Insulation
This type of insulation comes with a higher cost and is significantly more expensive than both open-cell foams and traditional insulation types.
Closed-cell spray foam expands less than open-cell spray foam, making it harder to install in tight spaces, as it may not fully fill complex or irregular cavities.
 Above: Example of spray foam insulation.
5. Blown-in Cellulose
This is one type of insulation that we don’t use, as there are so many better options available. Blown-in cellulose:
- Requires fire retardant, which introduces additional chemicals into a house (as well as to the installer).
- Is made of ground-up newspaper treated with fire-retardant, and is not an efficient or impressive material.
- Is often cheap, but not a healthy addition to an environment.
- Although the base material is typically renewable, the chemical additives undermine its sustainability, which is why we choose not to use it in our projects.
 Above: Example of cellulose insulation.
How to Fix a Poorly Insulated House
Follow these four steps to address all areas of iffy insulation in your home:
1. The first step towards fixing a poorly insulated house is to get a professional assessment.
A reputable, experienced professional will have the expertise to assess your current insulation situation and advise you on the best course of action to address the problem areas in your home’s insulation.
Pro tip: Seattle-area homeowners can potentially take advantage of current federal tax credits and rebates when upgrading to energy-efficient appliances or making qualified home improvements.
-1.png?width=1200&height=324&name=west-seattle-living-room%20(1)-1.png)
2. After seeking professional help, you next must prioritize accessible areas.
Replace or add insulation in easily accessible areas, such as under the roof and in crawl spaces.
Up to 20% of heat is lost through a roof with poor insulation. Because heat naturally rises, an under-insulated or bare attic and roof, or crawl space, can become one of the biggest culprits of energy loss during the colder months. By properly insulating these spaces, you not only retain warmth and reduce your energy bills, but you can also boost your home's overall value.
Many homeowners take the DIY route, but it's worth noting that the process isn’t exactly pleasant. It can be messy, uncomfortable, itchy, and hot. Relatively, it doesn’t cost a lot to insulate via a professional, and you’ll find that paying someone to do this job beats hunting down and buying materials, renting the needed equipment, and spending the time to do the job and clean up after yourself, all the while dealing with the discomfort that comes with an insulation job.

3. The next step is to focus on windows before walls.
Windows are essentially a clear wall, and you want to make the most efficient choices when it comes to how well a window insulates. Single-pane windows are not as insulating as double-pane windows, and double-pane windows with argon gas between the panels are even more insulating. The argon reduces the transfer of energy, making it a more efficient option.
Signs you need new windows:
-
Condensation or fog on the frame or glass of the window, or in between glass panes. Fog between two panes indicates that there is no longer a vacuum between the glass panes, leading to a loss of insulating capacity.
-
Single-pane windows can always be upgraded to double-pane windows to increase their efficiency, and double-pane windows can be replaced with triple-pane windows for the maximum insulating factor.
-
The choice to repair or replace your inefficient windows can be guided by a professional who will provide clear direction to help you make the best decision.
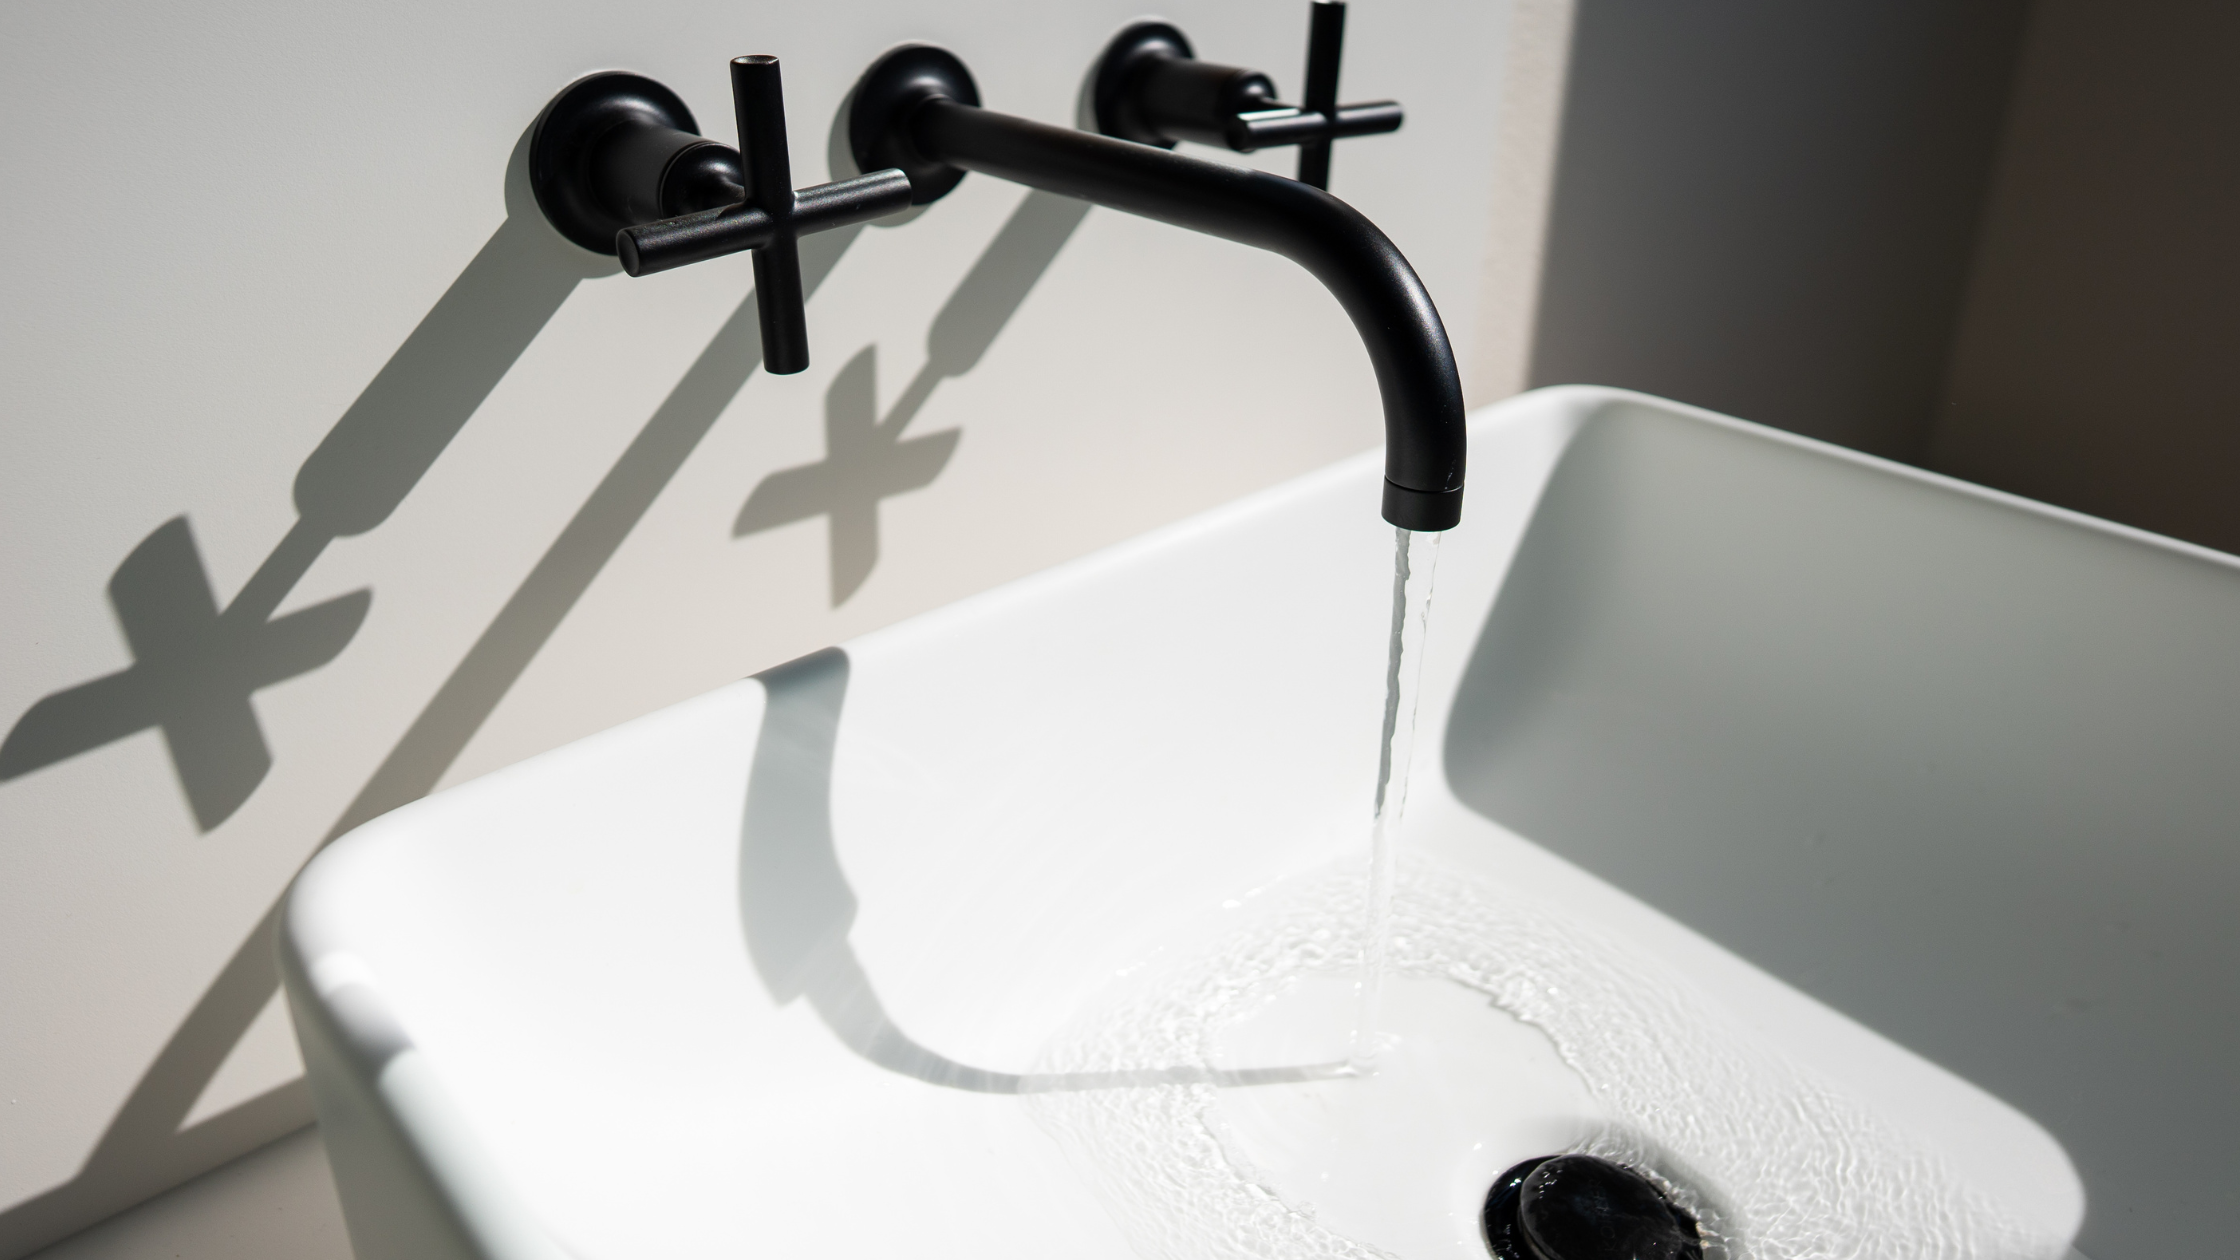
.png?width=1160&height=773&name=admiral-spa-bathroom-1200x800%20(2).png)
4. Finally, insulate exterior walls.
When it comes to this crucial step, we don’t recommend that you do it yourself (DIY) your wall insulation. This is due to the difficulty in accessing pipes and wires within the walls that can impede the insulation filling process. It can be challenging to determine when the wall is fully insulated unless you have experience in this type of work.
Not only is it hard to know when you’ve added enough insulation, but you could also damage interior wall systems if the insulation isn’t applied correctly. For example, one errant drill hole could damage a critical pipe or wire. A skilled professional is the way to go for this step, as they can ensure the job is done well, backed by their knowledge and experience.
Discover The Ultimate Guide to Determining Whether to Repair or Replace Your Home's Windows and gain the clarity you need to protect your investment, boost efficiency, and enhance curb appeal—without second-guessing your next step.
.jpg?width=1600&height=1067&name=willett-house-custom-build%20(104).jpg) How a Pro Can Help You Maximize Insulation Performance
How a Pro Can Help You Maximize Insulation Performance
Improving your home’s insulation does more than enhance comfort—it’s a smart investment in energy savings and overall home health. To get the best results, it’s essential to work with an experienced design-build team that can guide you through every phase of the process. From pinpointing insulation gaps to selecting the most effective materials for your climate and home type, a professional partner can help you avoid costly errors and ensure that everything is installed properly, safely, and in compliance with all relevant codes.
Take control of your home’s future—before problems start. Download Redefining Home Maintenance: The Proactive & Essential Guide for Homeowners and discover how to protect your investment, prevent costly repairs, and create a smarter, stress-free maintenance routine.


.png)
.jpg)